Your access device
Face, PIN, card or fingerprint on a supported device.
THE CONNECTION, EXPLAINED
A reader records a check-in or check-out. The local connector uploads the event, and EntryLuma sends the configured attendance notification.
Face, PIN, card or fingerprint on a supported device.
A Windows or Linux computer reads available events.
Records the person, branch, date and time.
WhatsApp or email to the people you select.
FOUR STEPS TO GET CONNECTED
Start with your existing device model. We’ll help identify the integration route and the information it can provide.
We currently support HIKVISION models including DS-K1T804AMF and DS-K1T342MFX. Share your exact model and setup to confirm the event details and photo options available for your workflow. Other biometric and card access brands can be assessed for integration; compatibility is confirmed per device and setup.
Install the Windows or Linux connector on a suitable computer that can reach the device. Connect it to your EntryLuma branch and configure it for the supported device.
Match device person IDs to access users. Add nominated contacts, branch recipients and your WhatsApp or email channel settings.
Run a test, confirm the location and timestamp, then review the notification. Keep the connector computer and internet connection running.
WHAT THE MESSAGE CAN CONTAIN
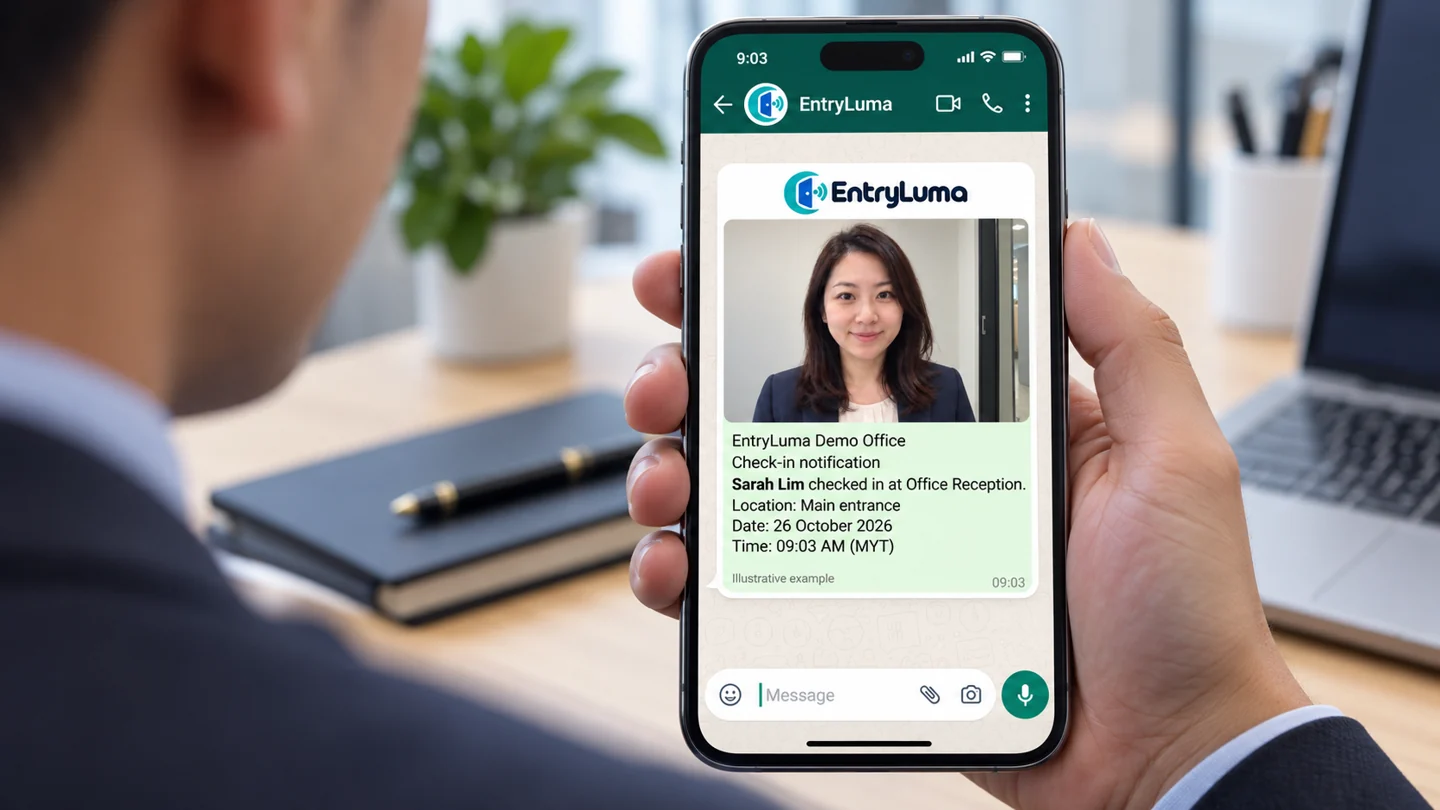
An event becomes useful when recipients know who arrived, where and when.
Illustration only. Message fields depend on the device event and your configured template.
For a local polling setup, the connector computer must stay powered on and connected to both the device network and the internet.
Choose an enabled WhatsApp connection or a configured email account, then confirm that your selected recipients receive a test update.
Timing depends on polling intervals, connectivity, queue processing and the messaging provider. A recorded event does not by itself confirm message delivery.
Verify the messaging connection, preview the saved notification settings and send an authorised test. Review the scan and its delivery status separately.
YOUR HARDWARE. MORE POSSIBILITIES.
Tell us about your access device and the people you want to keep informed.
WHATSAPP DELIVERY
See how reader events and camera alerts pass through EntryLuma processing to the configured WhatsApp delivery route.